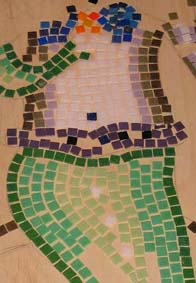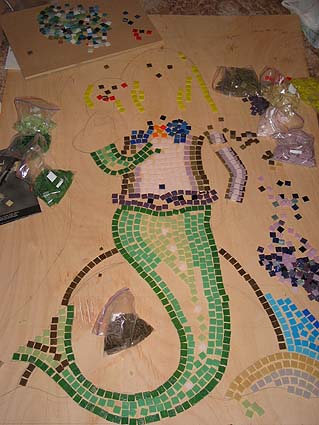
Having transferred the design to the backing board and prepared the tiles, I was able to experiment with the layout of the tiles. I had to think about how the tiles would flow (the andamento) and how the different areas of colour would work. The bands of toned colours help to give some shading and depth to the figure of the mermaid. I had decided that the mermaid would need a blue border to separate it from the strong orange colour of the wall. This used three blues, with the lightest nearest the mermaid, and the darkest at the edge.
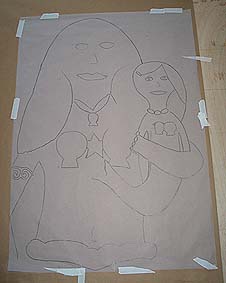
Having enlarged the design on to the wood, I took a tracing of the mermaid. I then transferred the full scale design to brown paper, which the tiles would be stuck to. Notice that I turned the tracing paper over to produce the reverse image (the baby mermaid is now on the right). I added extra detail to the paper version, showing, for example, the flow of the tiles and the colours to be used. Then I cut the paper into five sections ready for the workshop with the school pupils.