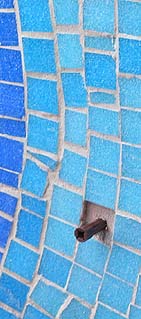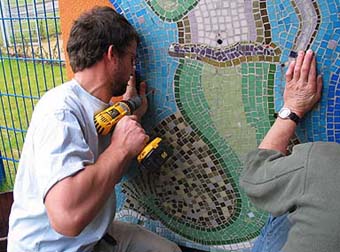
After grouting, the exterior grade plywood was coated with varnish on its back and the edges. I had extracted a number of tiles from the border and the sea to allow the board to be fixed to the wall (around 8-10 were used). Holes were drilled in these gaps and then the board was held in place while holes were drilled through into the wall.
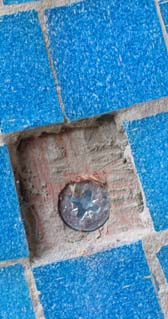
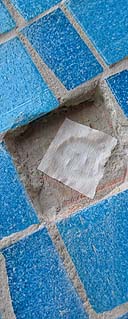
Rawlplugs were hammered through and the wood was screwed to the wall. Now that the mosaic was securely on the wall I had to replace the missing tiles. I taped over the screw heads and then mixed a small amount of the original adhesive. I pressed a tile into the gap with a blob of adhesive under it (this spread up around the tile to act as grout, too). The adhesive is a slightly different shade to the grout, but this wouldn't generally be noticed. However, it does mean it will be possible to identify which tiles cover the screws (and would need to be prised off) if the mosaic is ever to be removed. Other ways of marking these crucial tiles might be to use a different colour or, for example, to clip the corners of the special tiles.
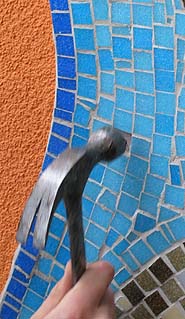
Finally the gull was put in place above the mermaids, in the same way.
To see the finished piece on the wall, return to the introduction page