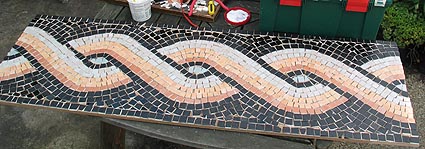
After the workshop there was some finishing of the tile tesserae to be done. This mainly involved cutting pieces to fit the remaining gaps (using tile nippers), and sticking them in place. Once set, the mosaic was then ready for grouting.
You can find a detailed description of how to grout a mosaic on the mermaid project grouting page
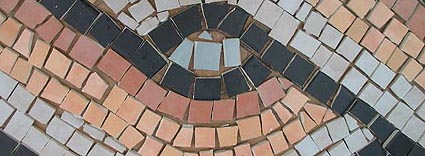
Grouting has the effect of bringing a design together. Before adding the grout, your eye is distracted by the cut side surfaces of the tiles, shadows, the board and any glue or markings on it.
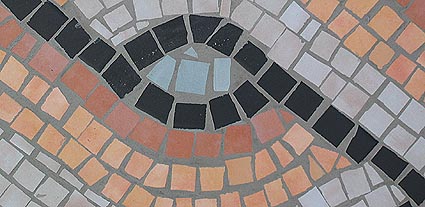
With all the gaps (interstices) filled with the uniform colour of the grout, the forms and colours of the design really come into their own. Grout also has the effect of strengthening the mosaic and holding the pieces in place.

The finished and grouted mosaic.